How to create stunning AI product photo shoots without the studio costs


Create studio-quality product photos without the high costs. Learn how to shoot, prompt, and generate professional product images using Lummi, the AI tool that replaces expensive studios and photographers.
If you’ve ever rented a studio for a photoshoot or hired a photographer, you know how expensive it gets.
According to Peerspace, renting a studio costs between $50 and $125 per hour. Some charge even more.
Hiring a photographer adds another large expense. Rates range from $50 to $500 per hour. A full-day shoot can reach $3,000 or more.
These prices make professional product shoots a major investment. But you don’t need a studio or photographer to get professional results.
Lummi offers an easier way. It’s an AI tool for product shoots that gives you realistic, art-directed images without the heavy cost.
Why traditional product shoots are so expensive
Professional shoots involve equipment, space, and people, and each of these adds cost.
Here’s where your money will go if you want the full set up:
- Studio rental
- Lighting and camera gear
- Photographer and crew fees
- Editing and retouching
- Location permits or props
Even a small shoot adds up fast. Many brands spend more on a single shoot than they realize.
And, if you sell multiple products or update content often, those costs multiply. Some studios charge $50 per product shot, so if you’re an entrepreneur with lots of products, you could be facing steep costs.
Why you should choose AI for product shoots
AI product shoots with Lummi take nearly all the cost out of your creative photoshoots.
You upload your product photo. Then, you describe the type of photo you want. Lummi generates professional images that look like they were shot in a studio.

At the end of your project, you'll be saving money, time, effort, and a whole lot of stress you may otherwise experience with a photo studio and photographer.
Additionally, if you’re a creative on a budget who needs professional quality product images fast, using Lummi also means:
- No need for a photographer
- No need to rent a studio
- No lighting setup or editing software
- Quick results for online stores, ads, and presentations
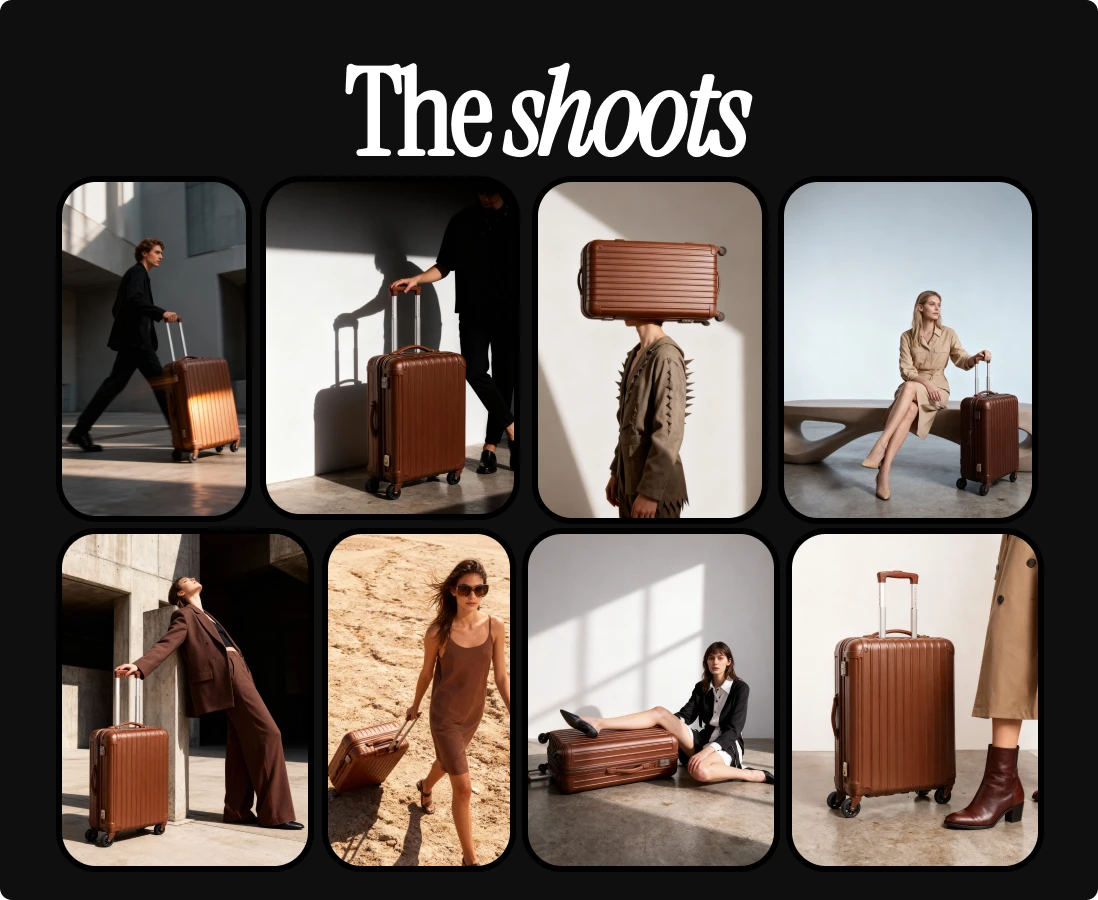
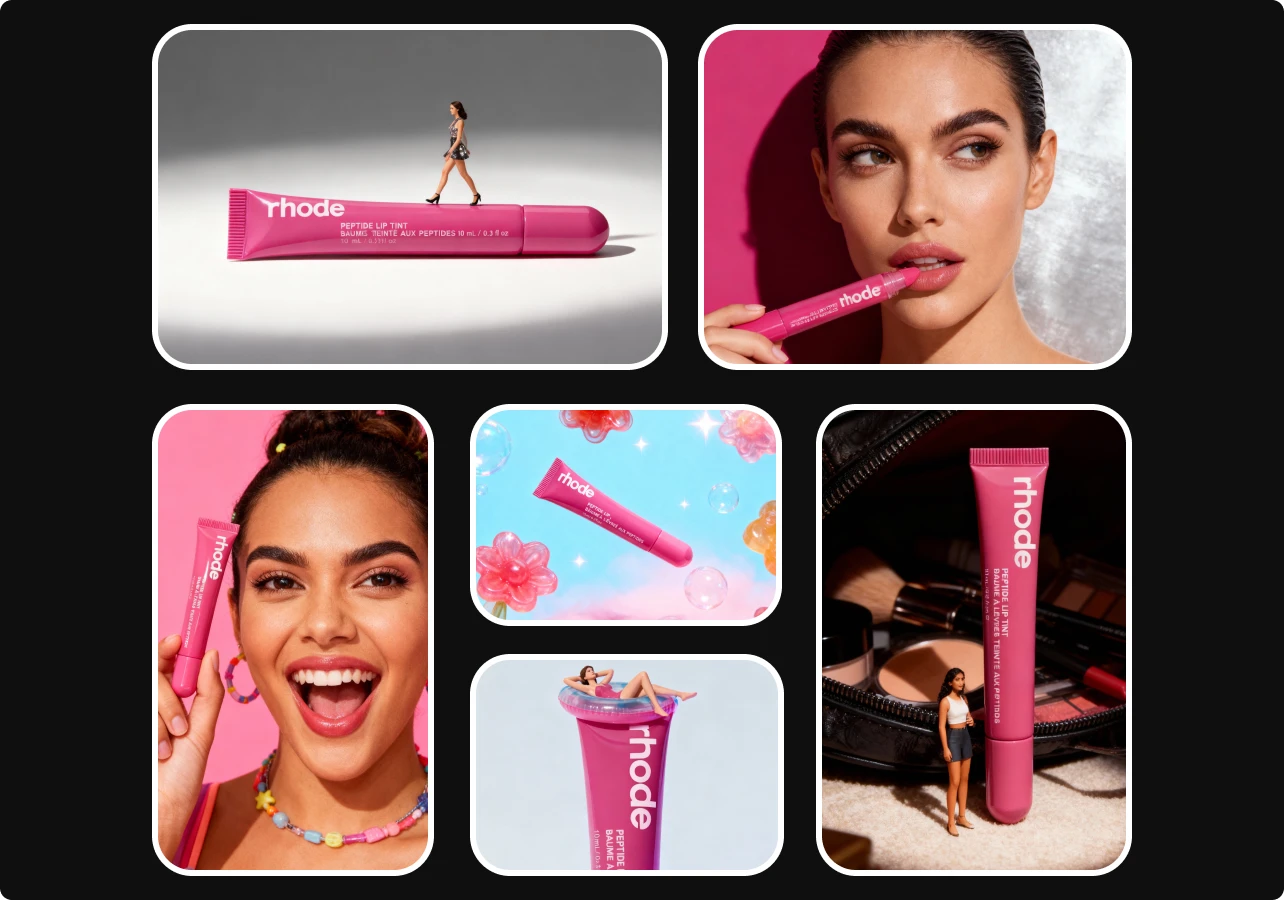
Plus, with Lummi you’re also not limited to one setup or theme. You can create multiple versions of your shoot in different locations, lighting, and moods.
In just a matter of minutes, your product can appear in a clean studio, on a kitchen counter, or outdoors in soft evening light. You can test different backgrounds, props, and tones until you find what fits your brand. In short, one image can become entire photo sets in a fraction of the time and cost.
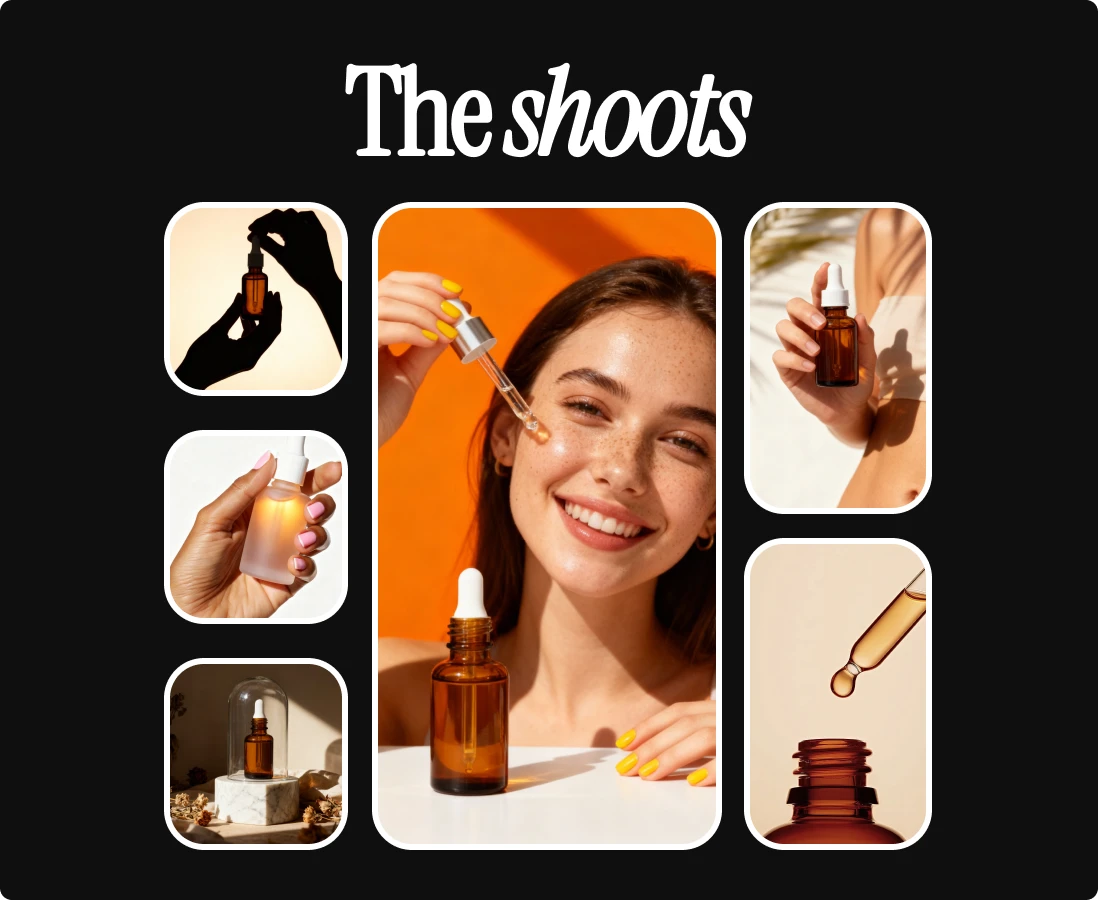
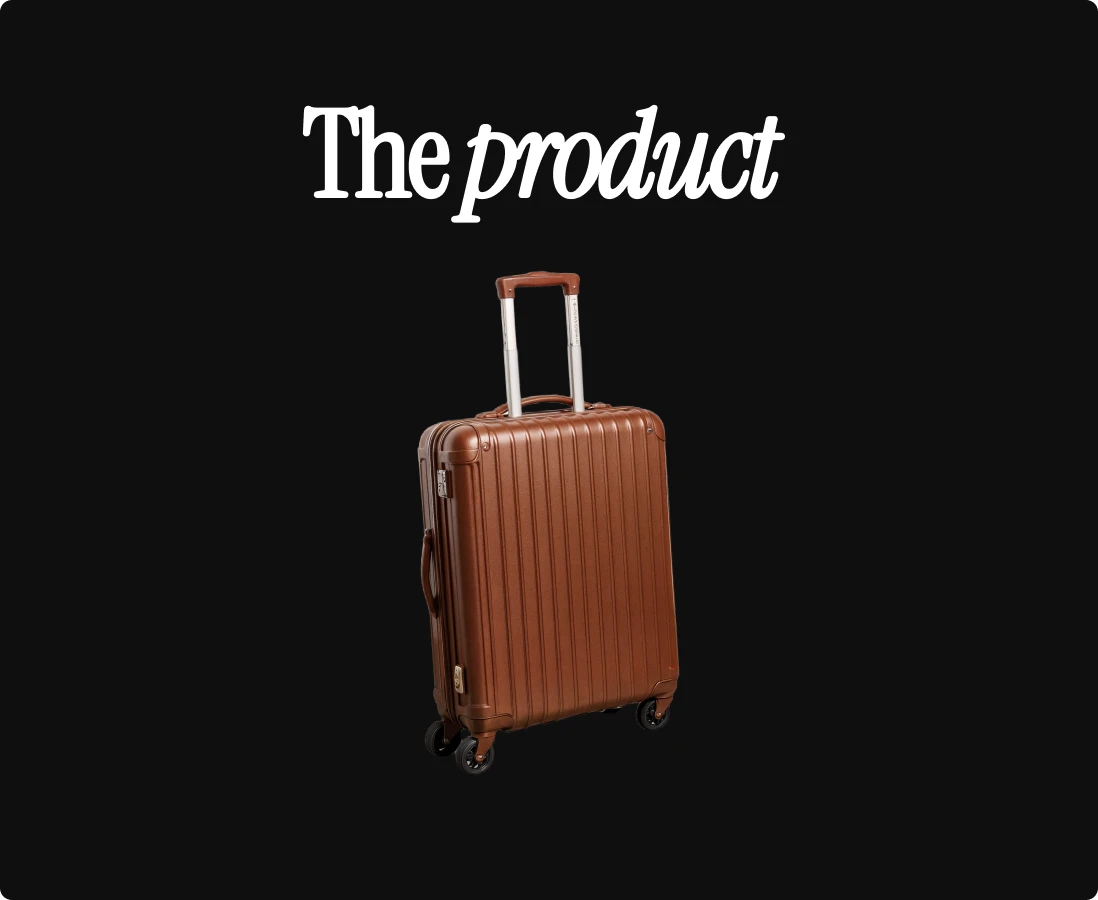
How to prepare and create your shoot with Lummi
Before starting your AI product shoot, focus on getting a strong base image. The quality of your photo determines the quality of your results.
Start by setting up your product in a clean, simple environment. Use good lighting like daylight from a window or a softbox, and make sure the background is free of clutter or distractions. A plain surface helps your product stand out.
Take the photo straight on or from a flattering angle. Keep labels or logos visible and avoid harsh shadows or reflections. You don’t need professional equipment. A phone camera with solid lighting is enough.
Here’s a quick checklist before you upload:
- Clean, high-quality image of your product
- Even, natural lighting
- Neutral background
- Centered frame and clear focus
Once your photo looks sharp and balanced, you’re ready to move into Lummi. Below is the step-by-step guide to turn your images into a full on product shoot.
Step 1: Go to lummi.ai
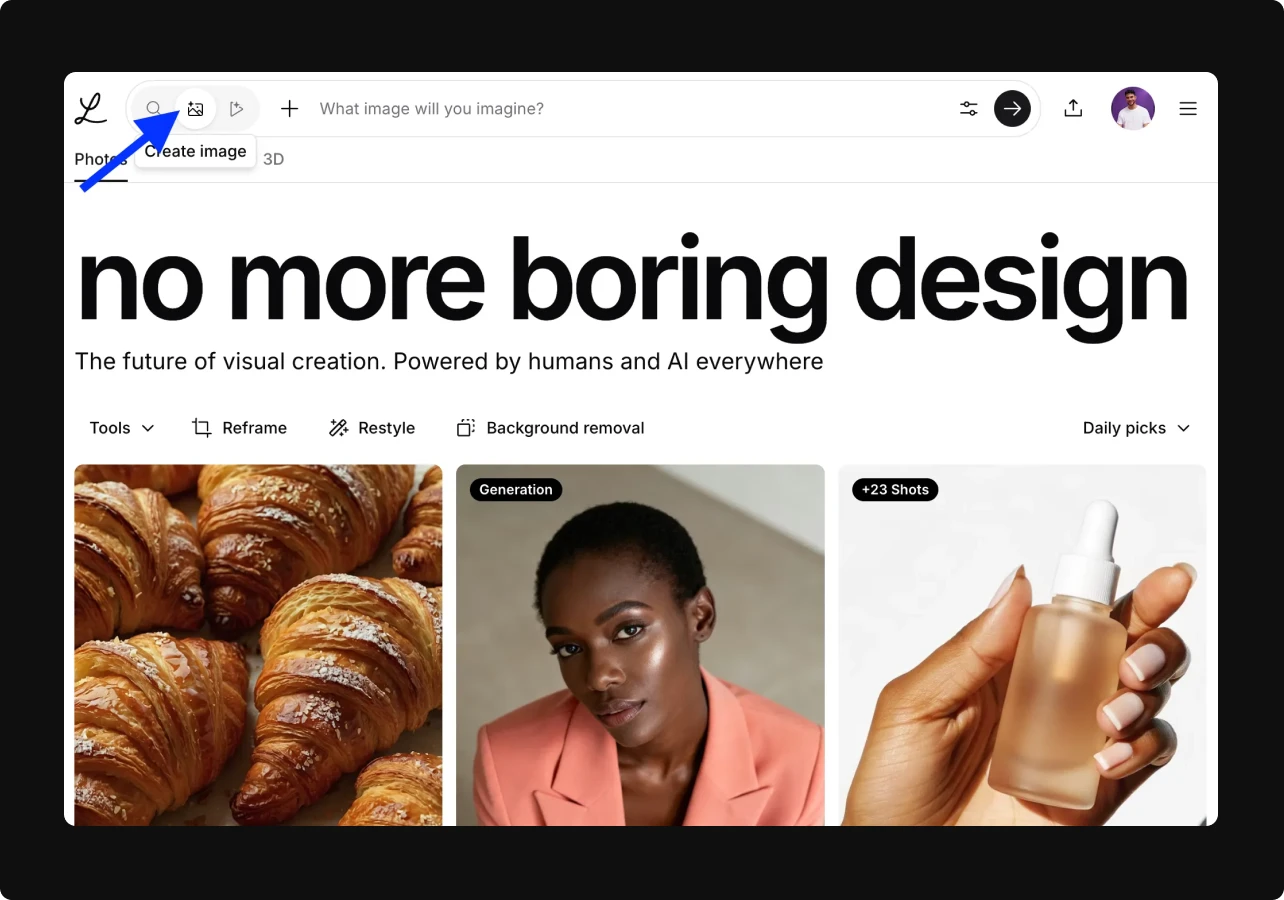
Start at lummi.ai and click “Create” in the top navigation bar. This will open up Create Mode and begin the process of generating your photoshoot.
Step 2: Upload your product photo
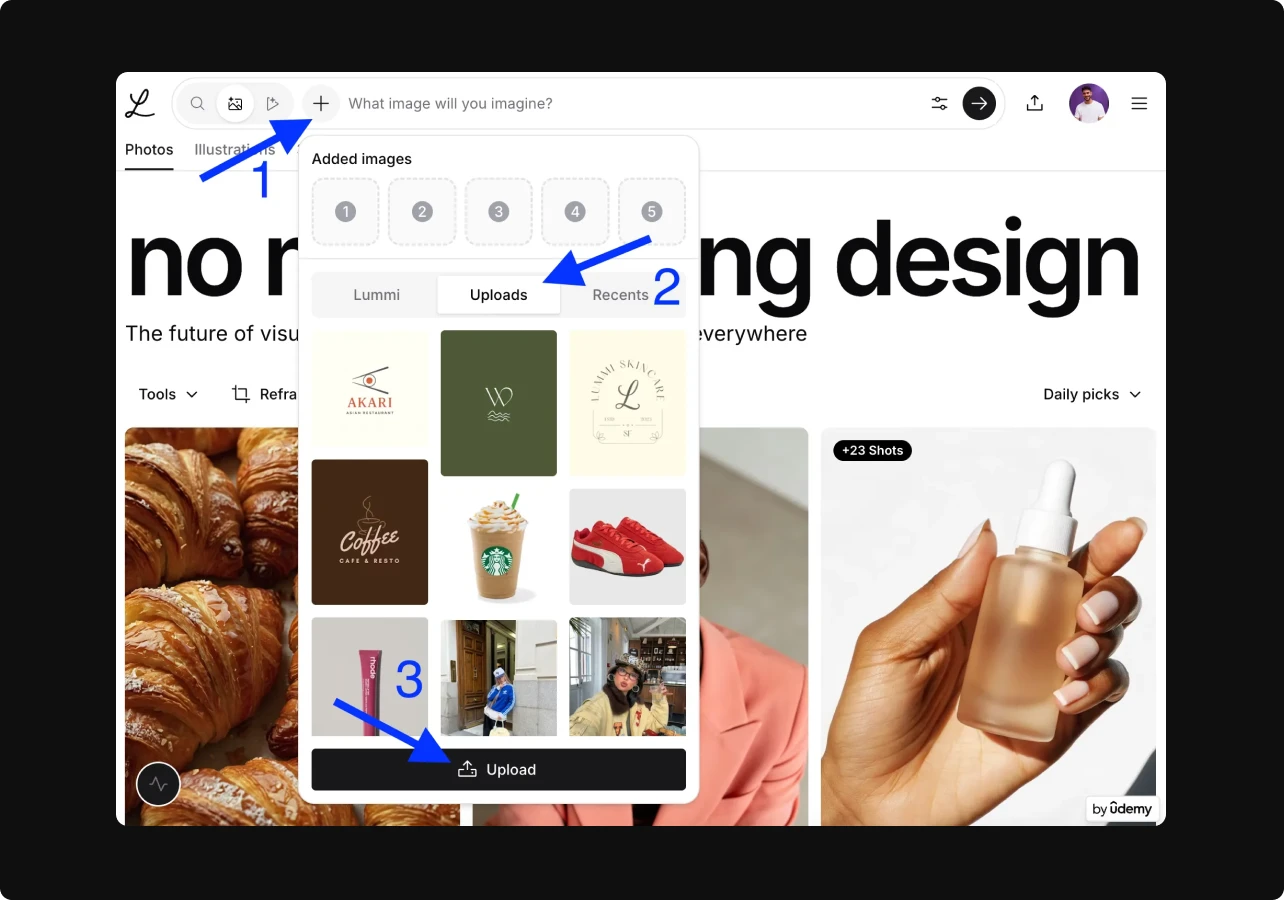
Click the camera icon, then click the plus icon, and then click on uploads to select your source photo.
Remember, for your source photo, you’ll want to use a bright, sharp image of your product. This image serves as your raw material, and the better the lighting, angle, and background, the better the outcome.
Step 3: Write a prompt
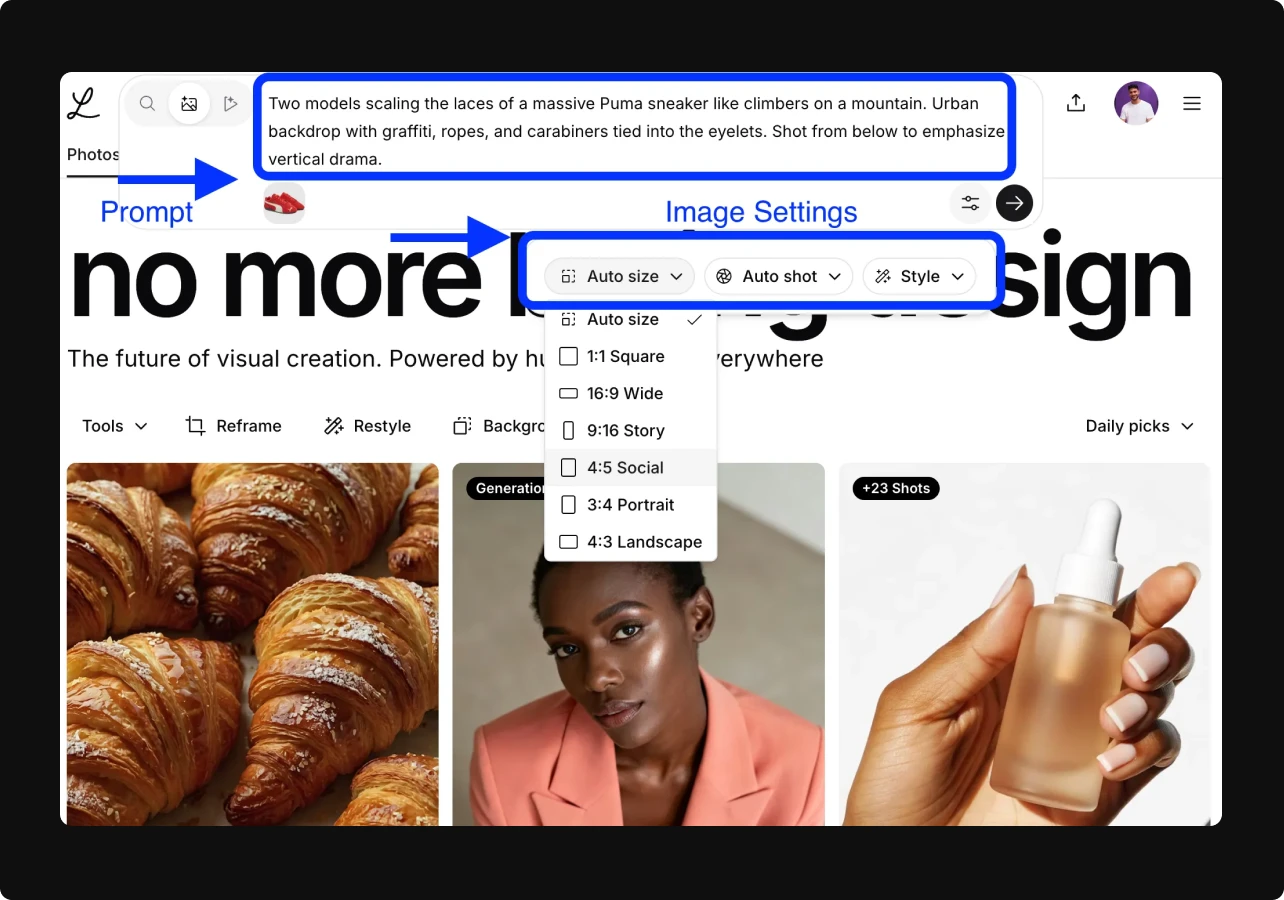
Tell Lummi what you want your final image to look like. An example could be: “This product placed on a wood table in a cozy coffee shop with warm afternoon light, lifestyle-style mockup.”
To ensure that you get the best output on the first try, make sure to include details like:
- Environment (i.e. kitchen, desk, bathroom, park or another environment)
- Props (i.e. mugs, books, flowers, mirrors)
- Lighting: morning, sunset, spotlight
- Mood: clean, cozy, editorial
Your description guides the AI tool for product shoots. Precise prompts produce more realistic results.
Step 4: Generate and review
After you enter your prompt, click generate and let Lummi handle the rest. In seconds, you’ll see several image options with different lighting, angles, and moods.
Browse through them and pick the ones that best match your brand’s style. If something feels off, adjust your prompt and try again. Small tweaks can make a big difference.
When you’re happy with the results, save your favorite versions. You can reuse or edit them later to keep building your product library.
Step 5: Download and dazzle your audience
Once you get an output that you’re happy with, download them and start letting people see your products.
You can use all your images for both commercial and personal use. If you’re not sure how or where to use them, here are a few examples of how you can use them for:
- Product listings on your website
- Ads on Meta, Google, or TikTok
- Pitch decks and presentations
- Moodboards and lookbooks
- Press kits and marketing materials
- Online stores with frequent product updates
- Social media content
- Client presentations
- Early-stage branding or concept visuals
Save your best prompts to reuse for future products. It’s also useful for testing creative directions before paying for a studio shoot.
You can preview ideas, show clients mockups, or explore seasonal looks in minutes.
Common mistakes to avoid
To get better results, avoid these common mistakes. They might seem small, but they can make a big difference in how your final images turn out.
- Uploading blurry or poorly lit product images that reduce clarity and detail
- Using vague prompts like “make it pretty,” which give the AI little direction
- Leaving background clutter or unwanted objects that distract from your product
- Forgetting to include lighting, setting, or mood details in your prompt
Each of these small issues can weaken your final images. Be specific, clear, and intentional with every step. The more precise your setup and description, the more professional your results will look.
Make your photo shoots shine with Lummi
Lummi is ideal for small businesses, freelancers, and marketing teams who need professional visuals on a budget. Modern brands need fast, affordable, and flexible visuals. Lummi helps you meet that demand.
By using an AI tool for product shoots, you reduce costs while keeping your visuals professional.
You control every detail, from lighting to mood, without hiring a team.
Professional-quality product photography no longer requires large budgets or complex setups.
With Lummi, you take one photo, describe your vision, and generate a full product shoot in minutes.
Want to stay ahead of the creative curve? These are the most important design skills you'll need in 2026.
How to use the Lummi image generator